All ProjectsAboutBlogs
-
Soul
-
Skates
-
Curiously
-
Tura
-
Overlap
-
Again From Scratch
-
M-Tron
-
Lamboozled
-
Sunrise
-
Memory Voyage
Return to Home
All Blogs
X-Ray Scanner Paper Circuit 📜🩻
December 11, 2024
Introduction
This paper circuit project was inspired by my recent streak of misfortunes—from a back injury to a painful incident with a ceramic needle tool. These moments led me to create an "x-ray scanner" scene, where pressing a button reveals a hidden skeleton behind a character that represents me. Through this project, I explored the intersection of storytelling, art, and basic circuitry, turning a series of setbacks into an engaging and reflective visual narrative.
Materials Used
- 18” x 12” card stock (3 sheets)
- Copper tape/conductive fabric tape
- LED lights (white or blue for a realistic x-ray effect)
- Coin cell battery (3V)
- Non-conductive masking tape
- Battery pack
- Craft materials (markers, paper for character cutouts, scissors, white glue)
- X-Acto knife or craft knife
- Transparent plastic sheet (for printing the skeleton)
- Double-sided tape
Step-by-Step Progress
1. Design of the Paper Circuit
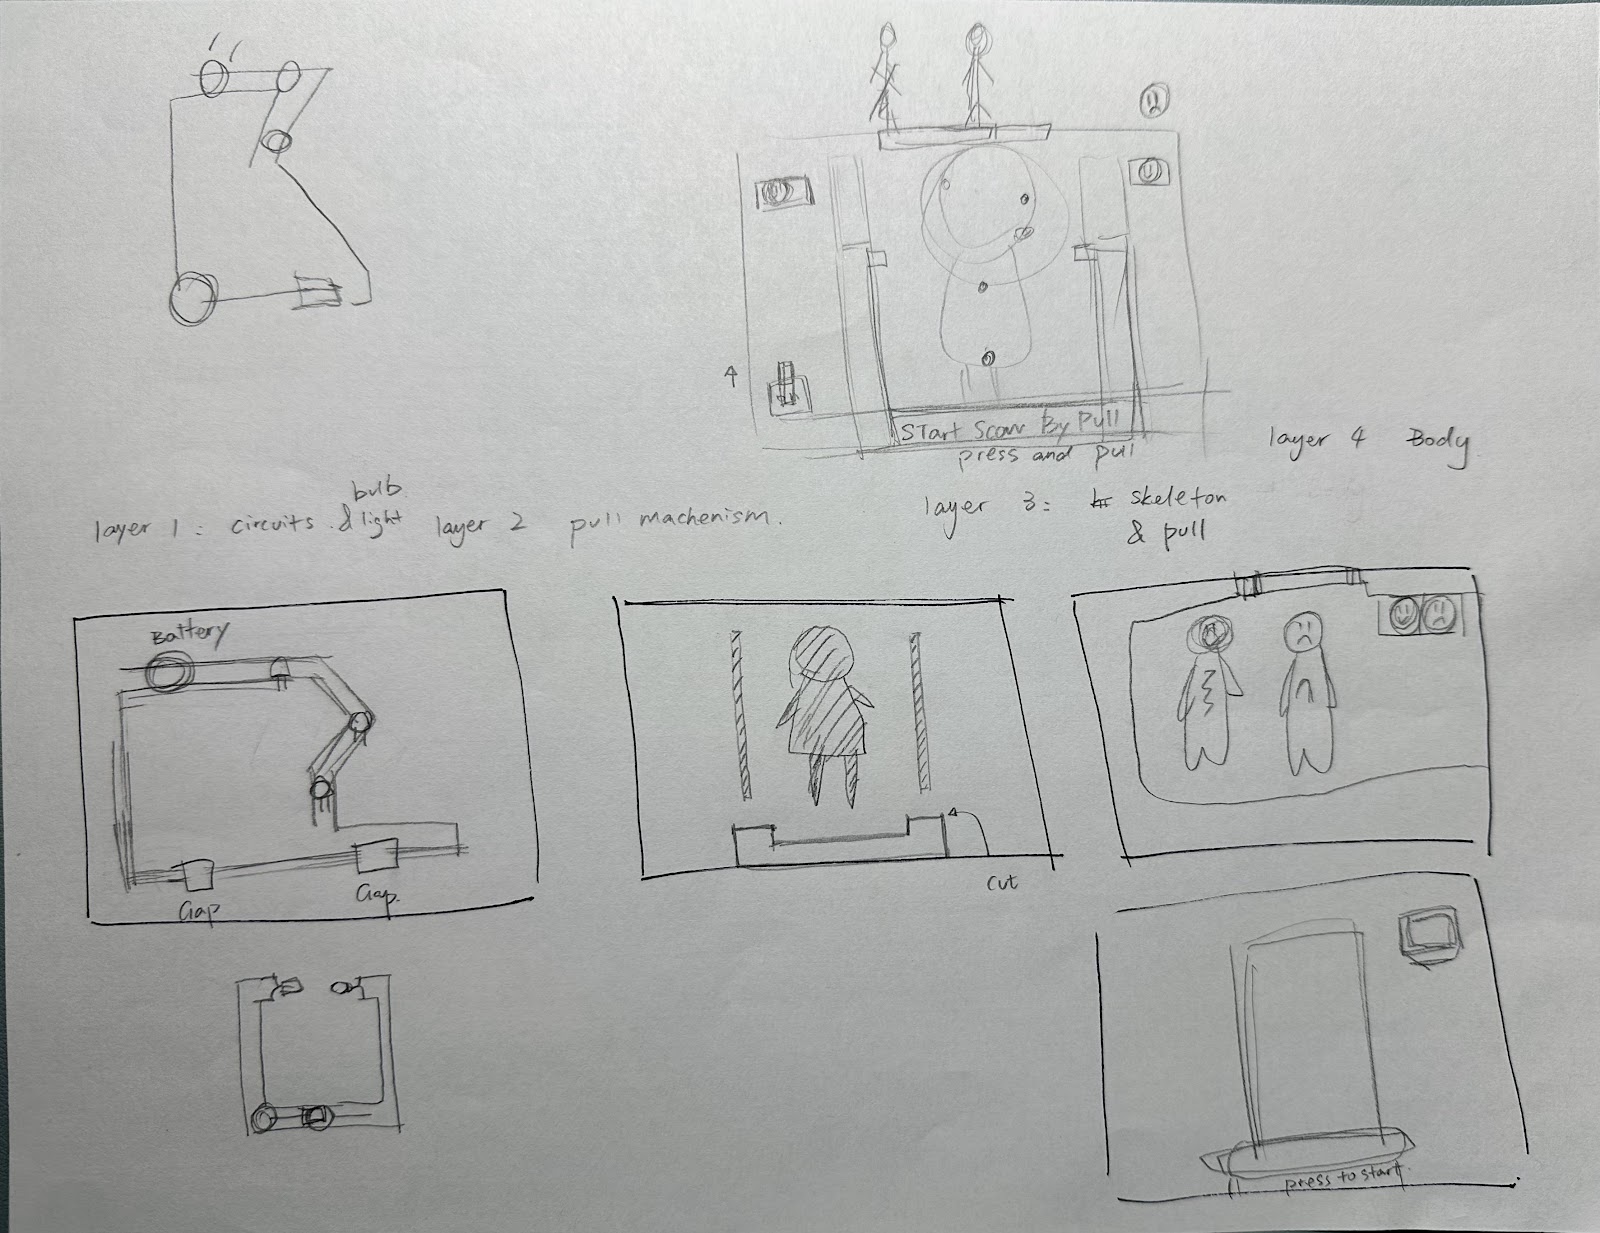
Sketch the layout by dividing the paper circuit into three layers and designing each layer as follows: Layer 1 for LED circuit paths, Layer 2 for the sliding scanner, and Layer 3 for the character and the skeleton.
2. Plan and Test Circuit (Layer 1)
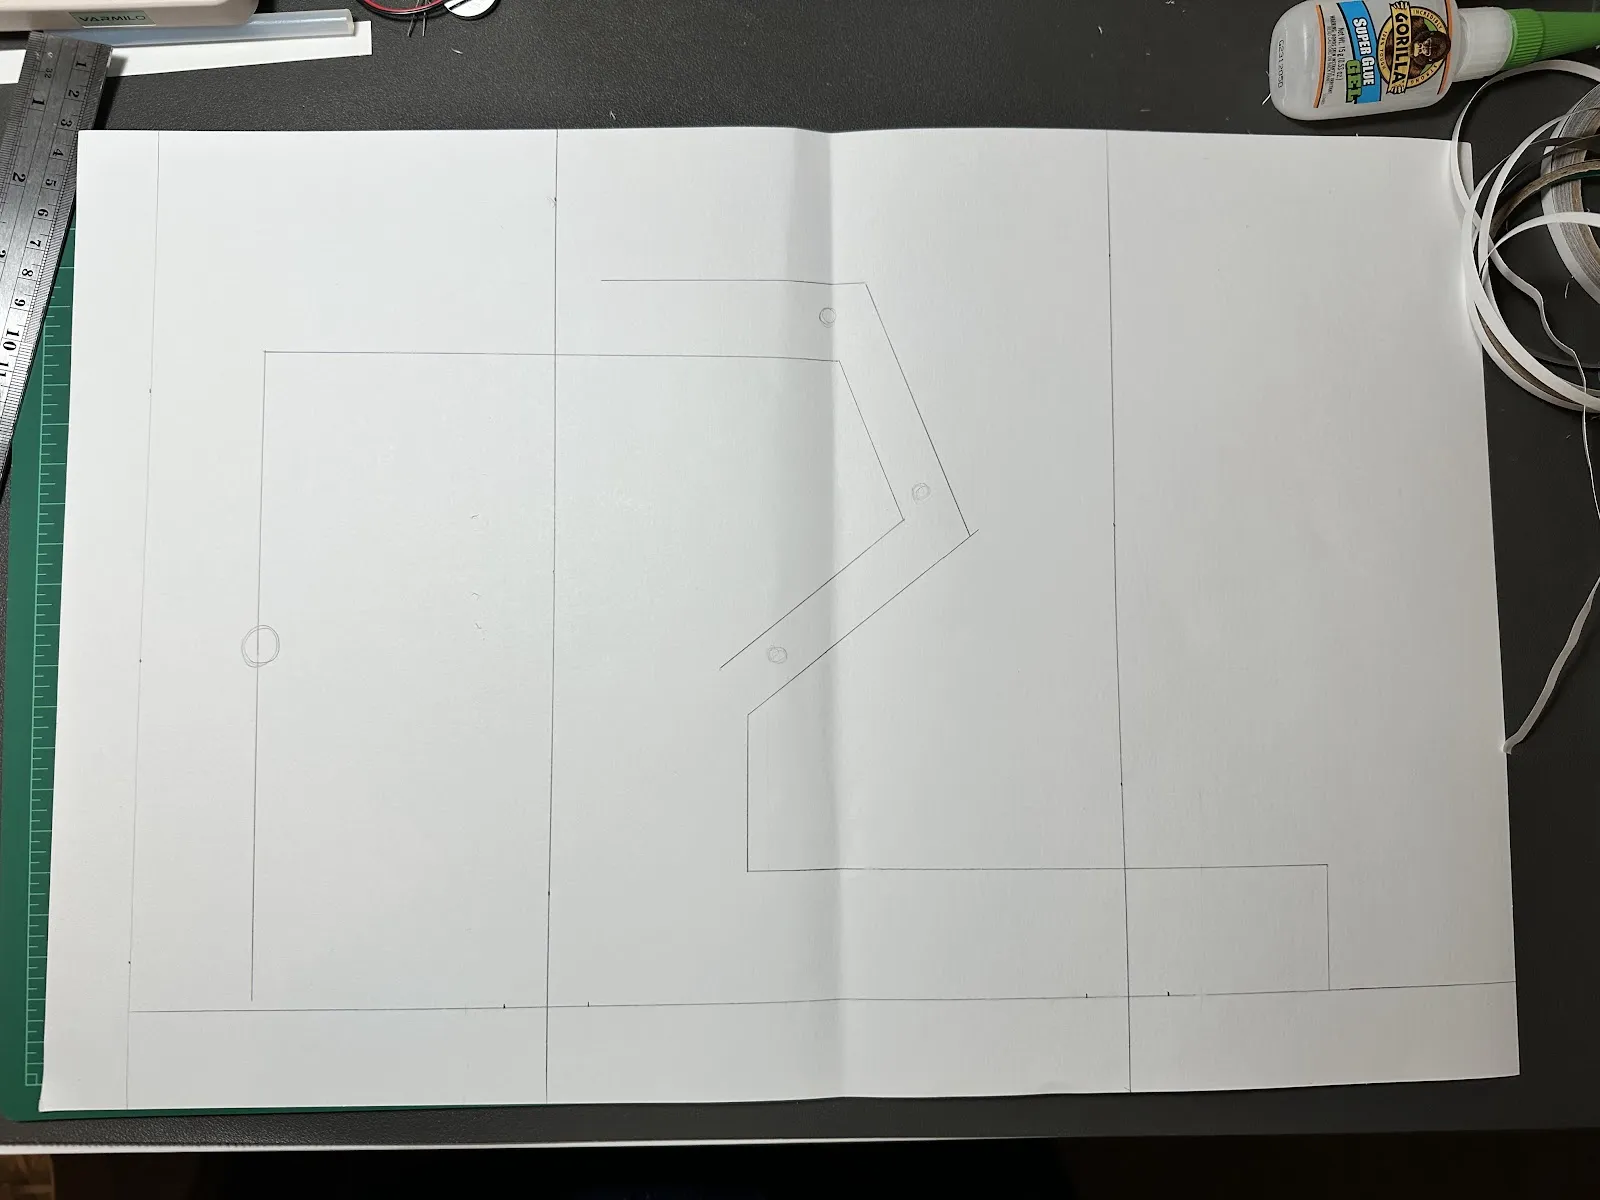
Draw the circuit paths on the card stock.
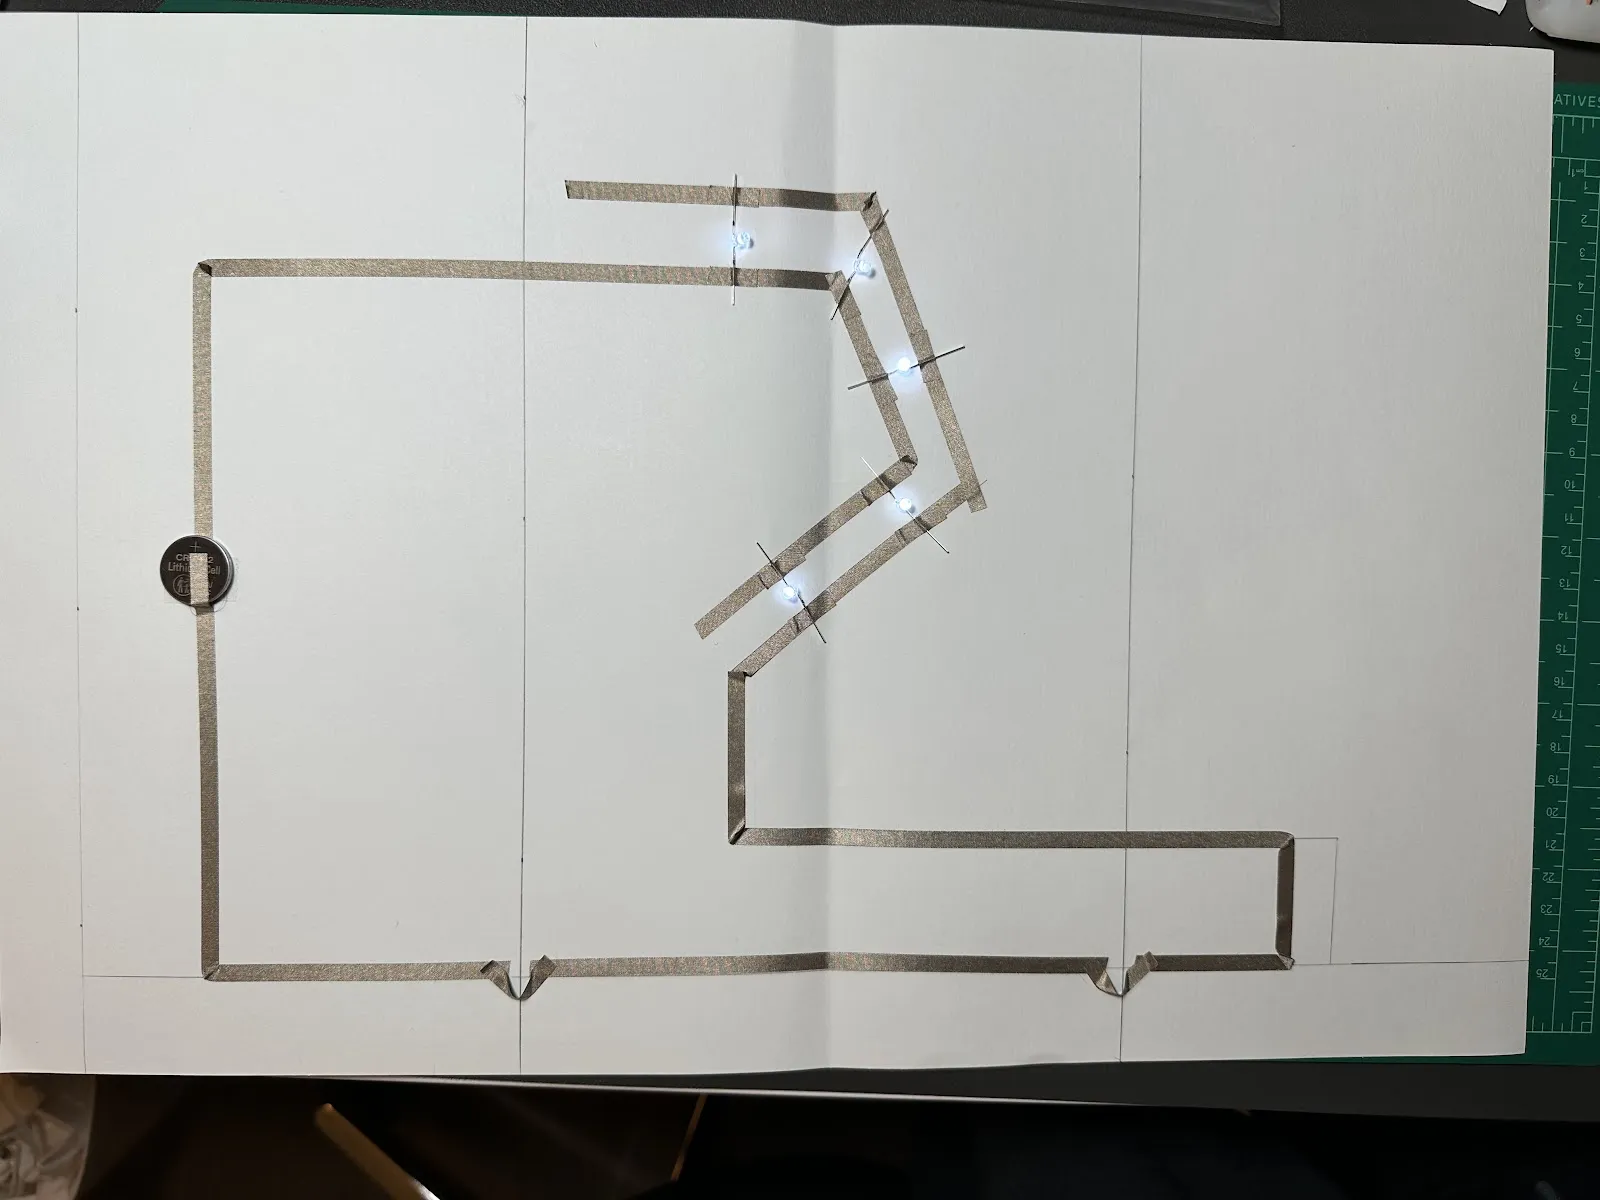
Use copper tape to connect the LED lights and battery in a parallel circuit, and test the circuit to ensure the LEDs light up when the connection is complete.
3. Make the Sliding Scanner (Layer 2)
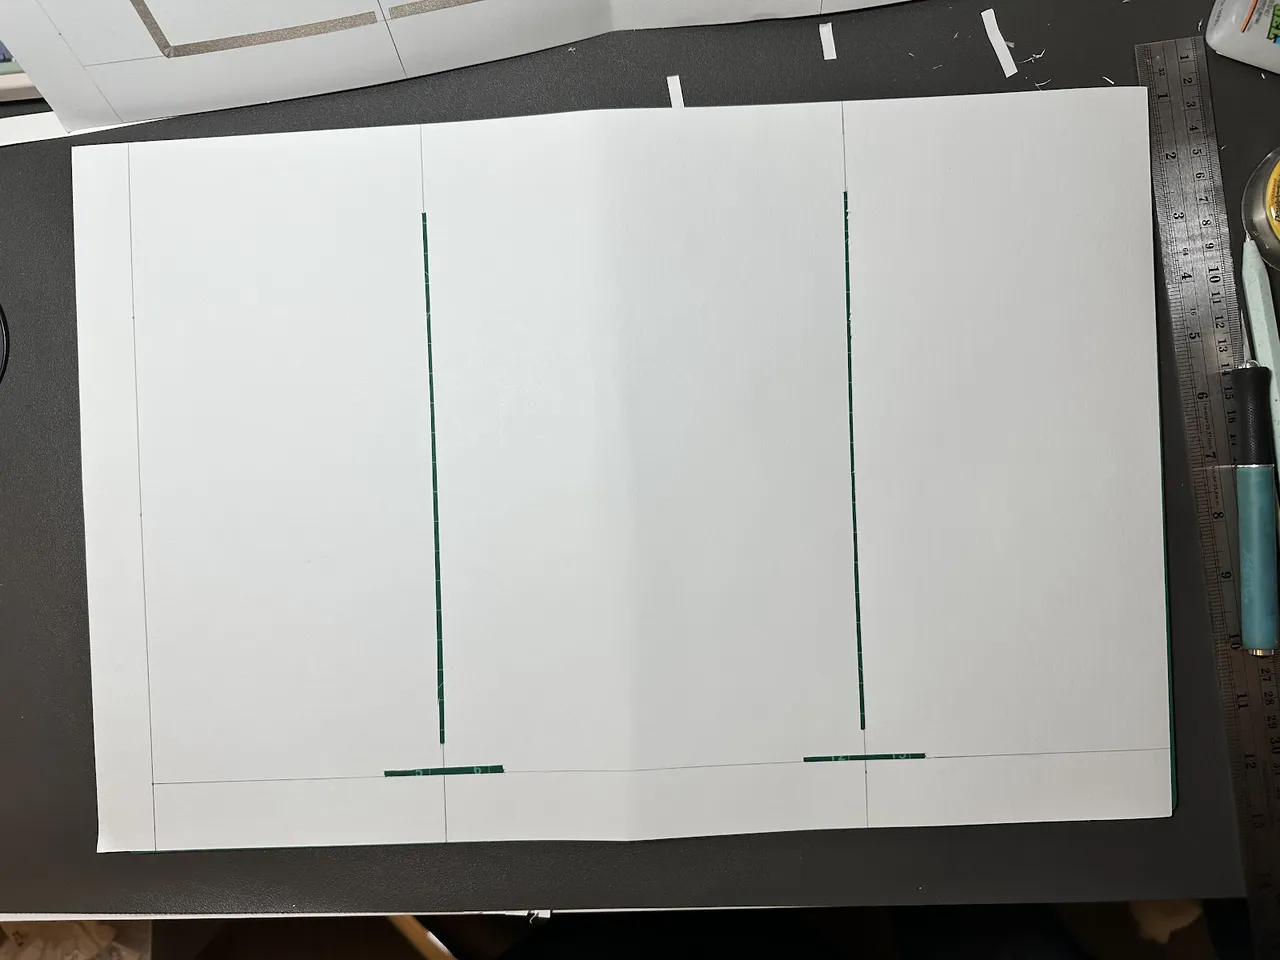
Create a frame to guide the strips, allowing them to slide smoothly.
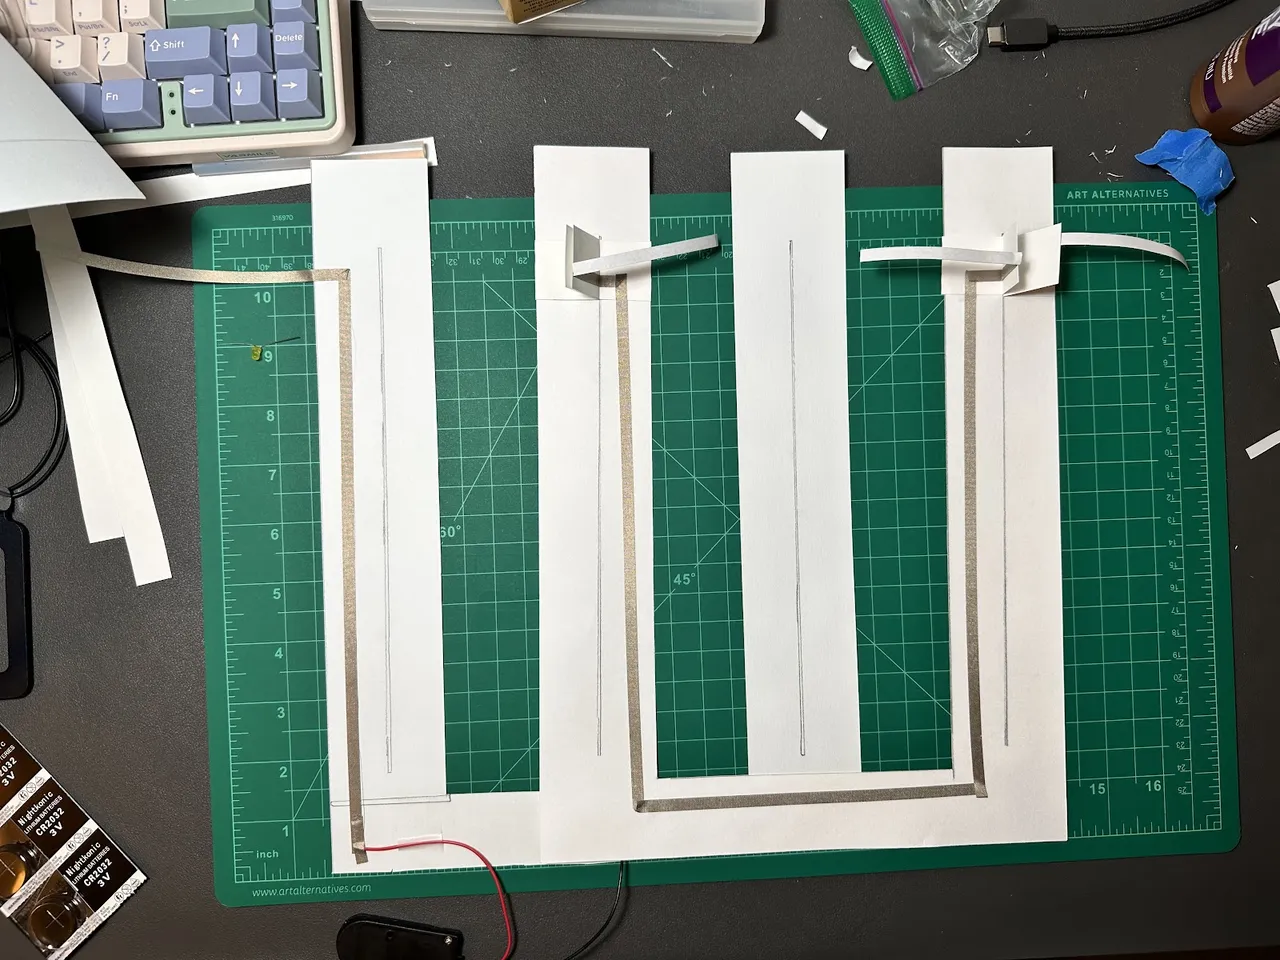
Cut strips for the "scanner" bar.
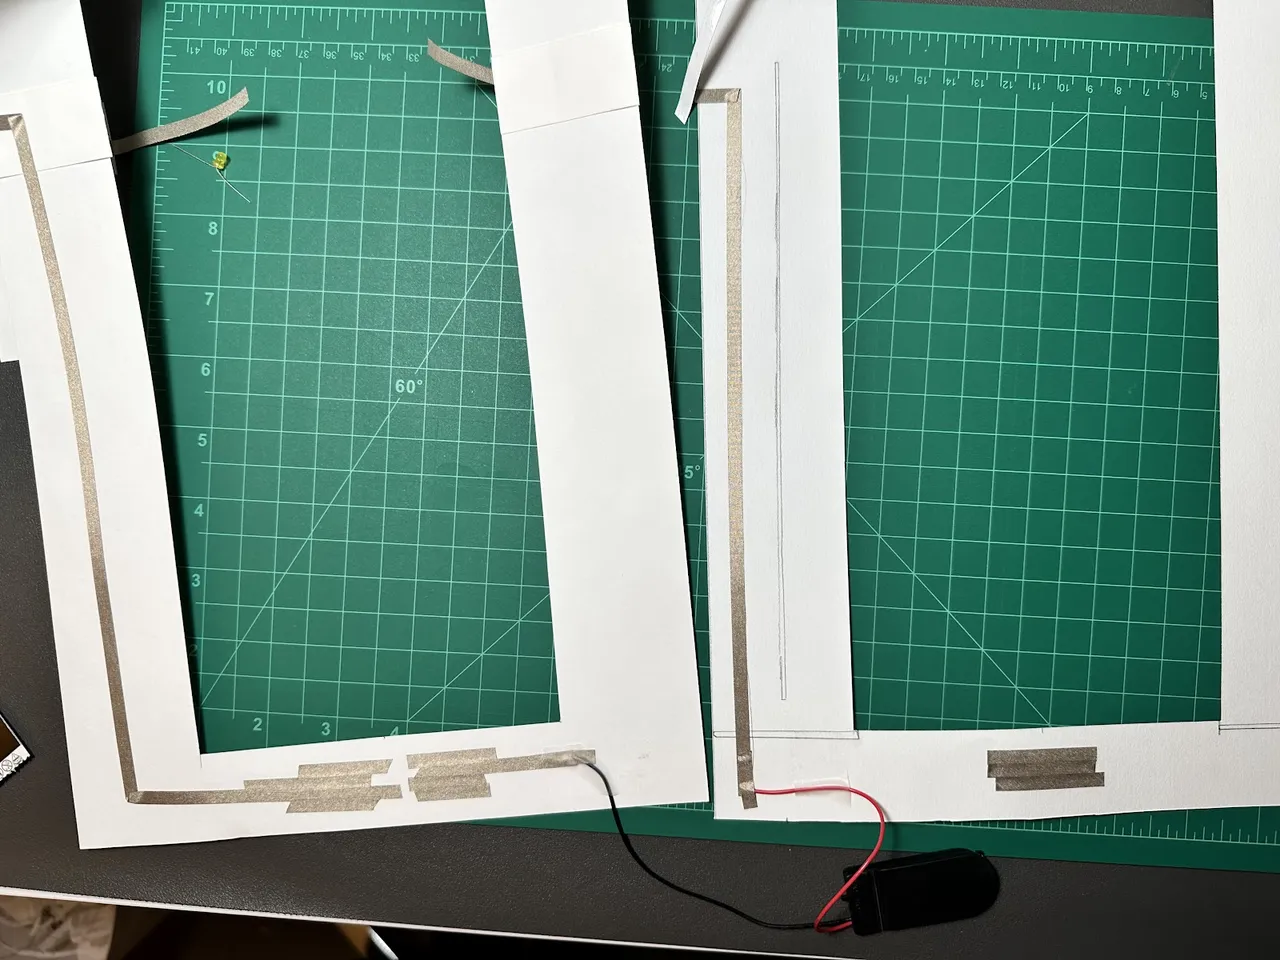
Assemble the circuit components, ensuring everything fits together.
4. Assemble the Scanner (Layer 2)
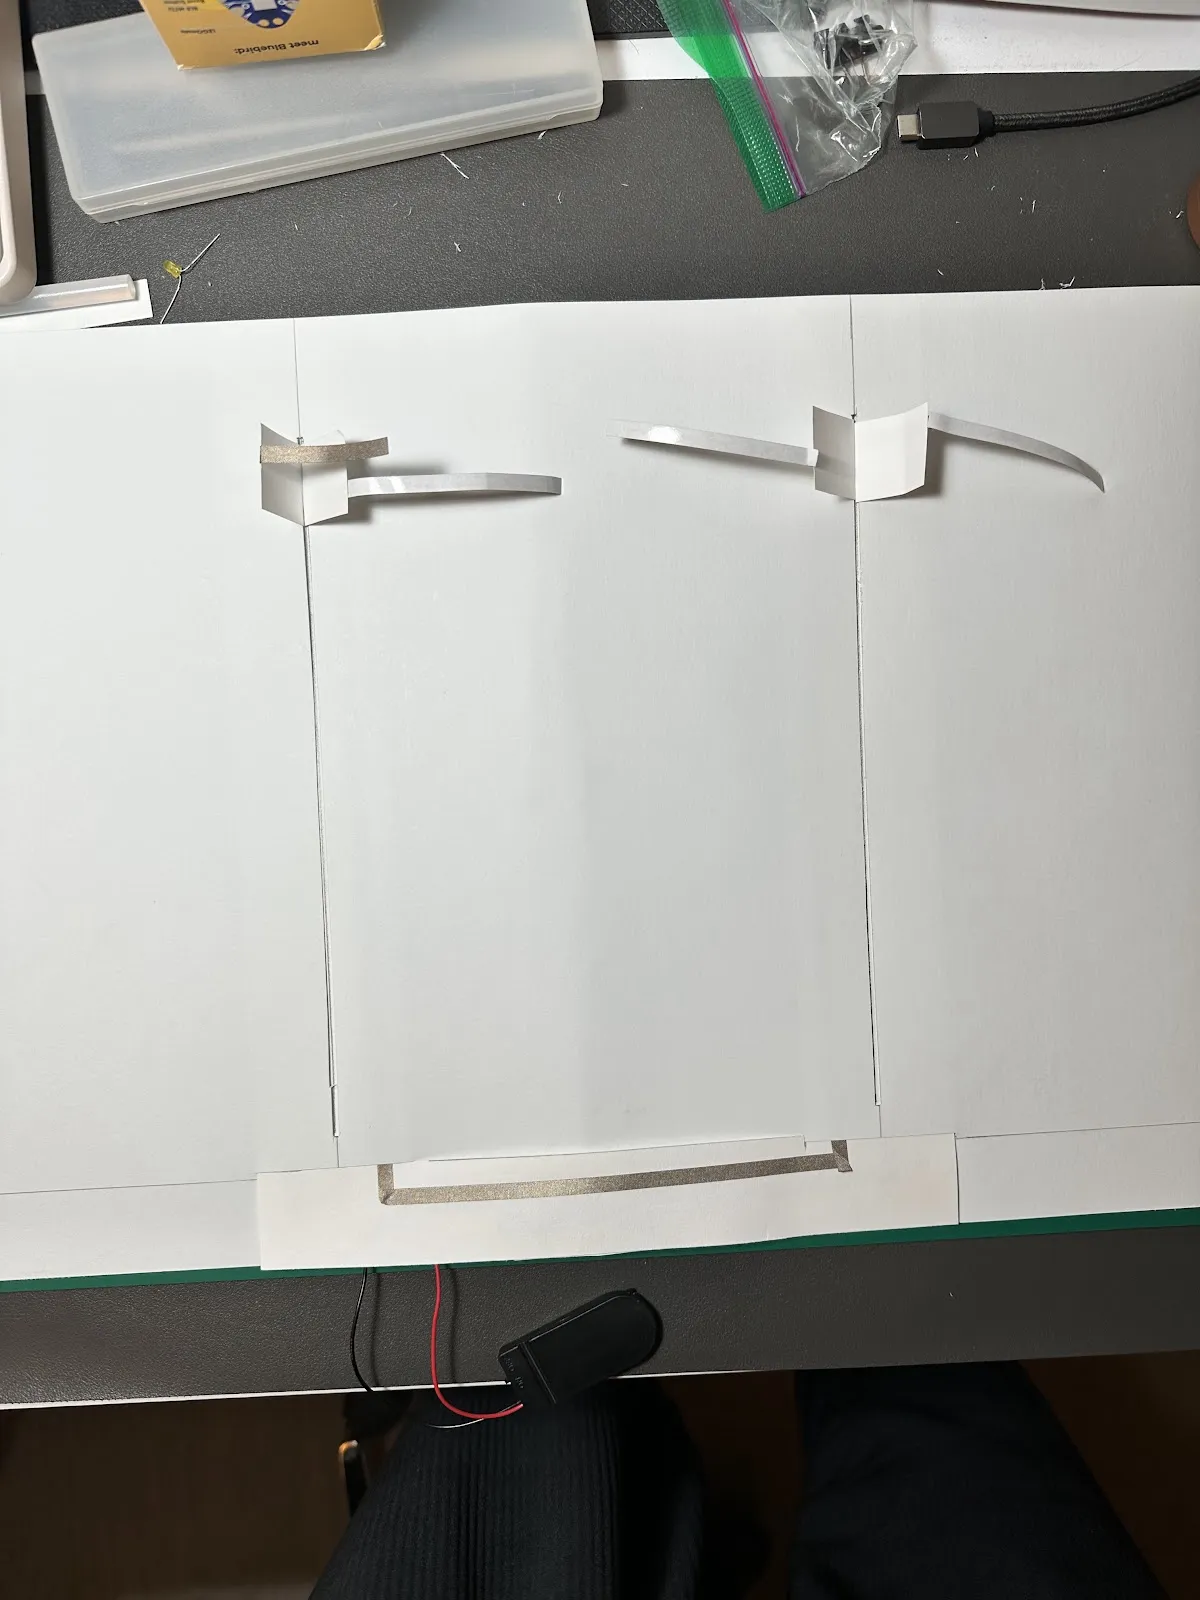
Attach the sliding bar to the frame.
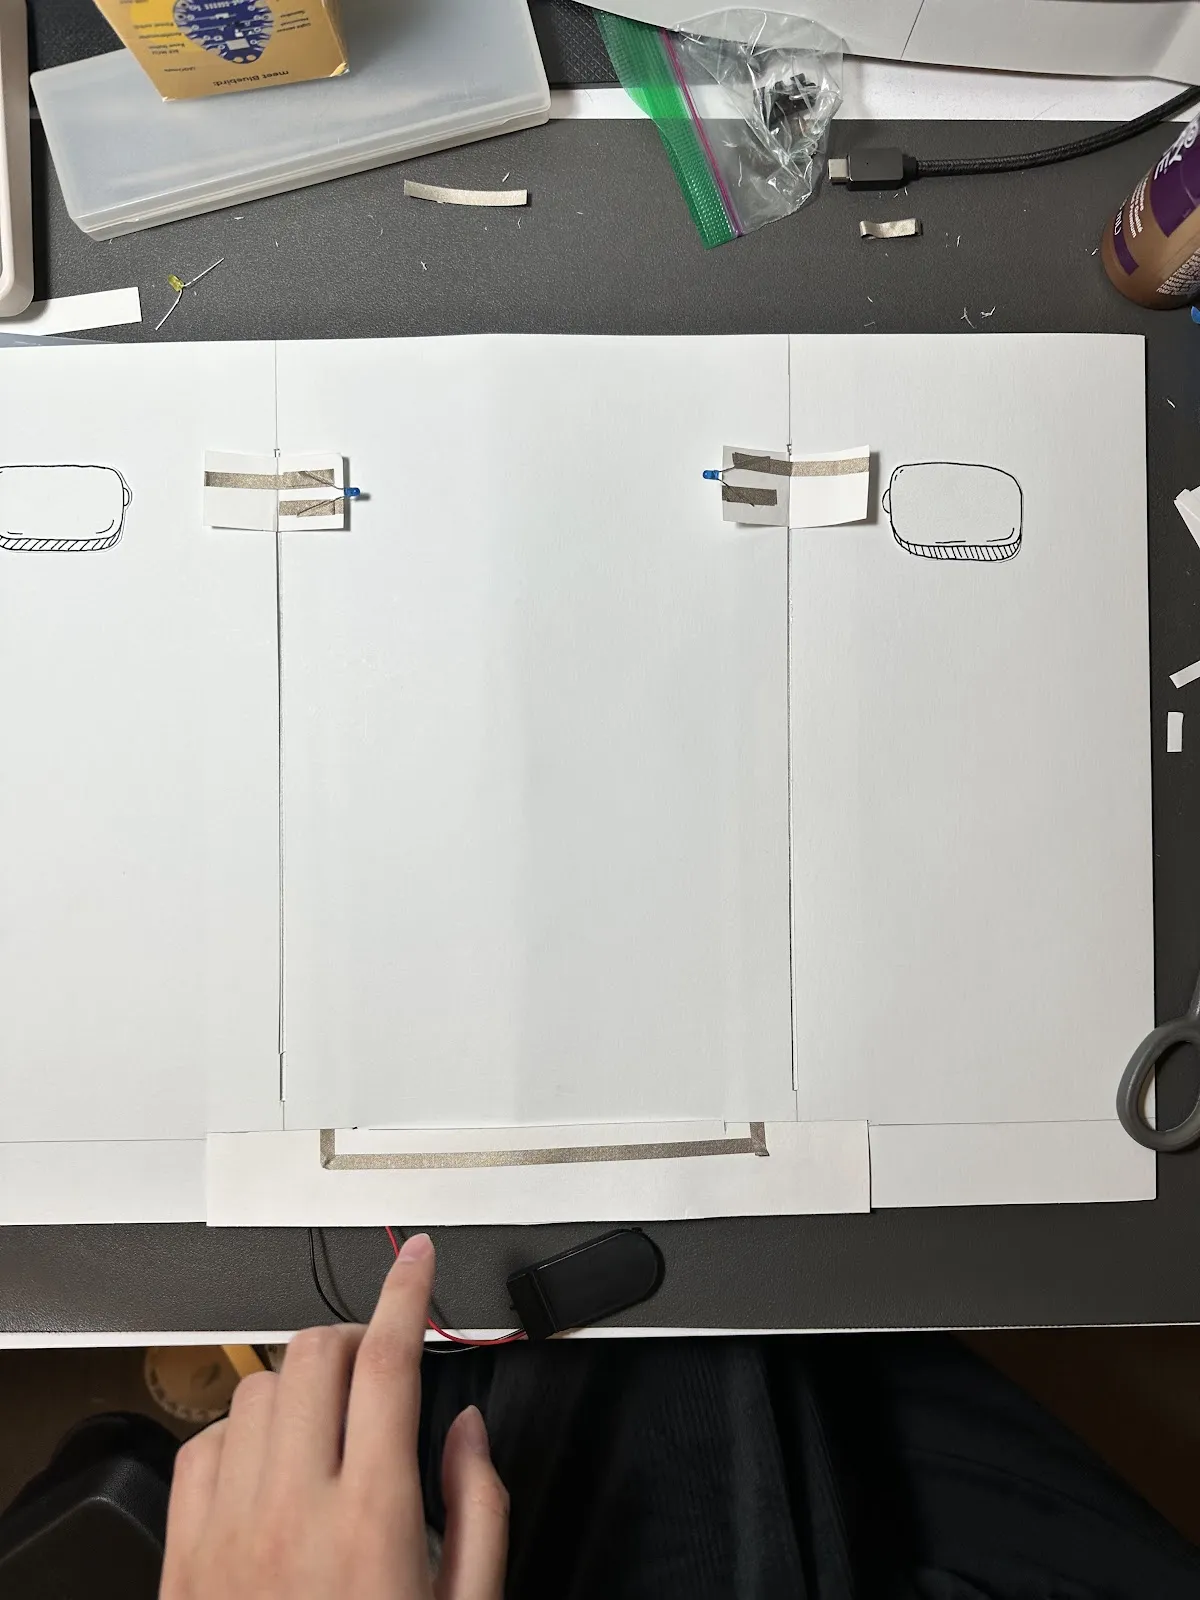
Connect the LED lights to the circuit.
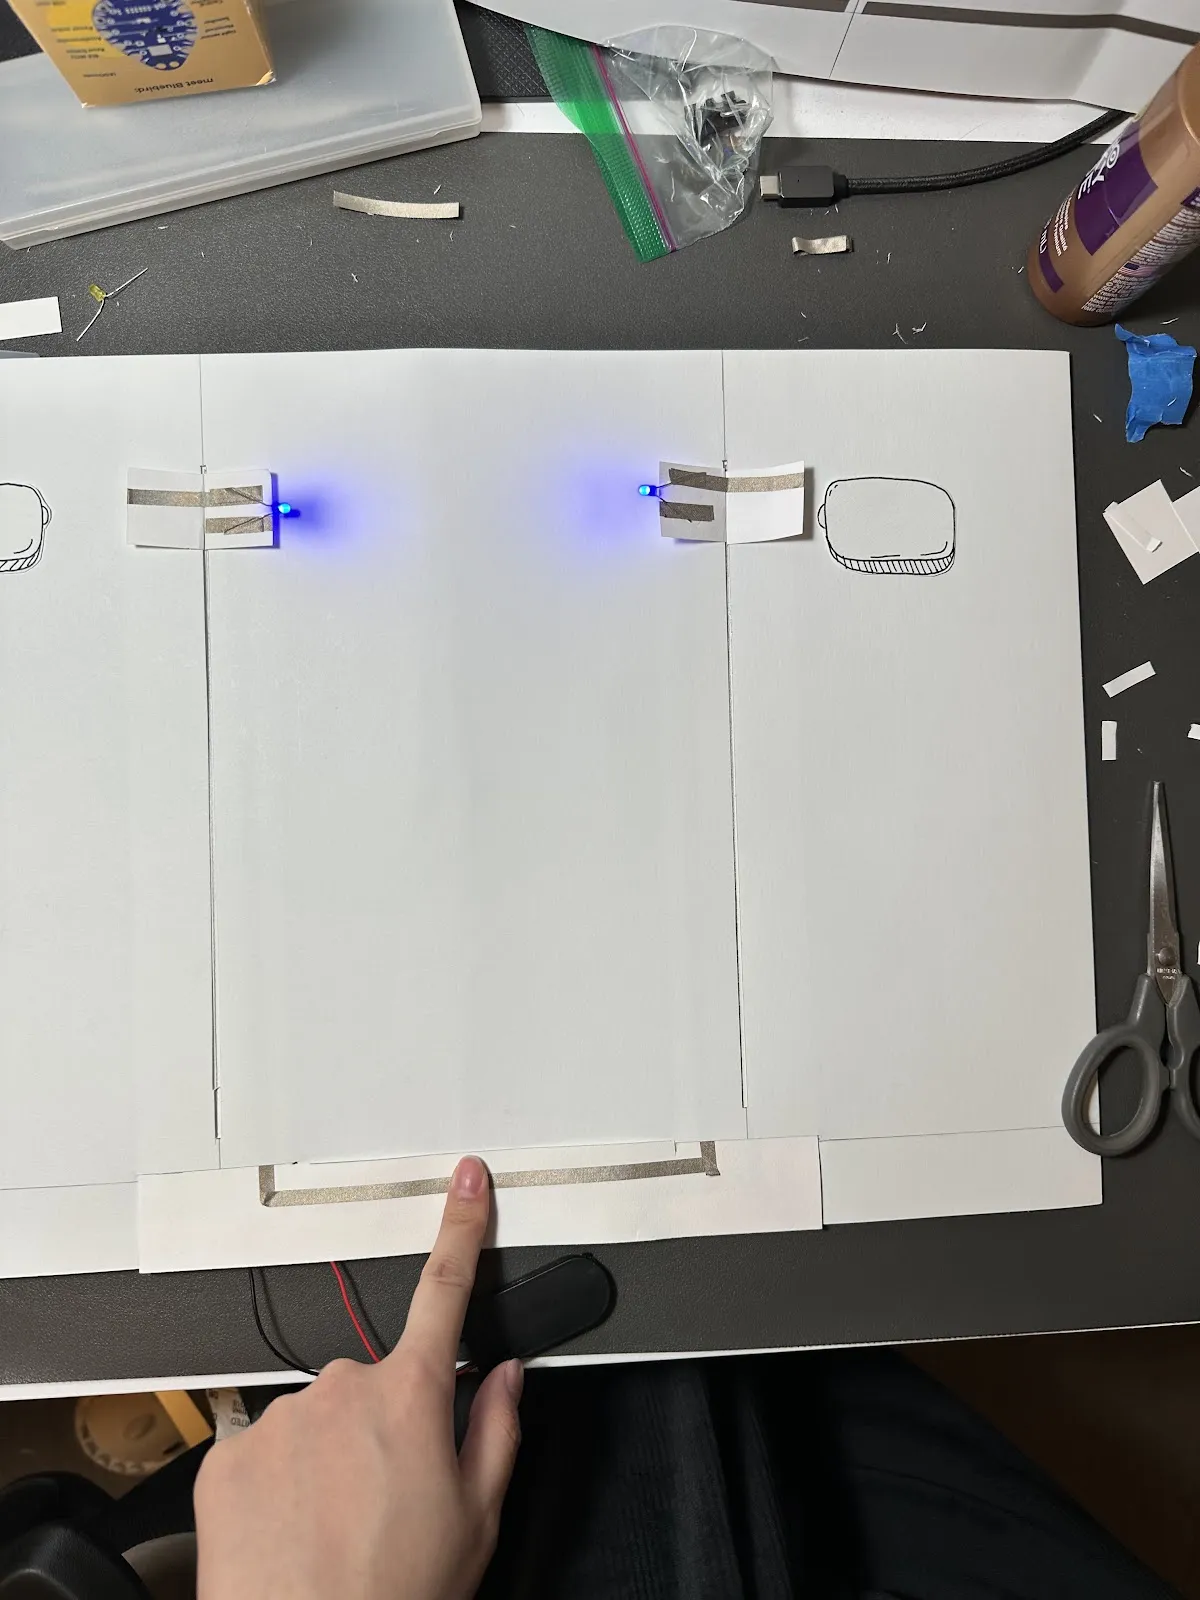
Test the scanner mechanism to make sure the LEDs light up when the scanner is activated.
5. Add Details
- Decorate the character and the scene
- Create and attach the "Press to Start X-Ray" button.
6. Add the Character (Layer 3)
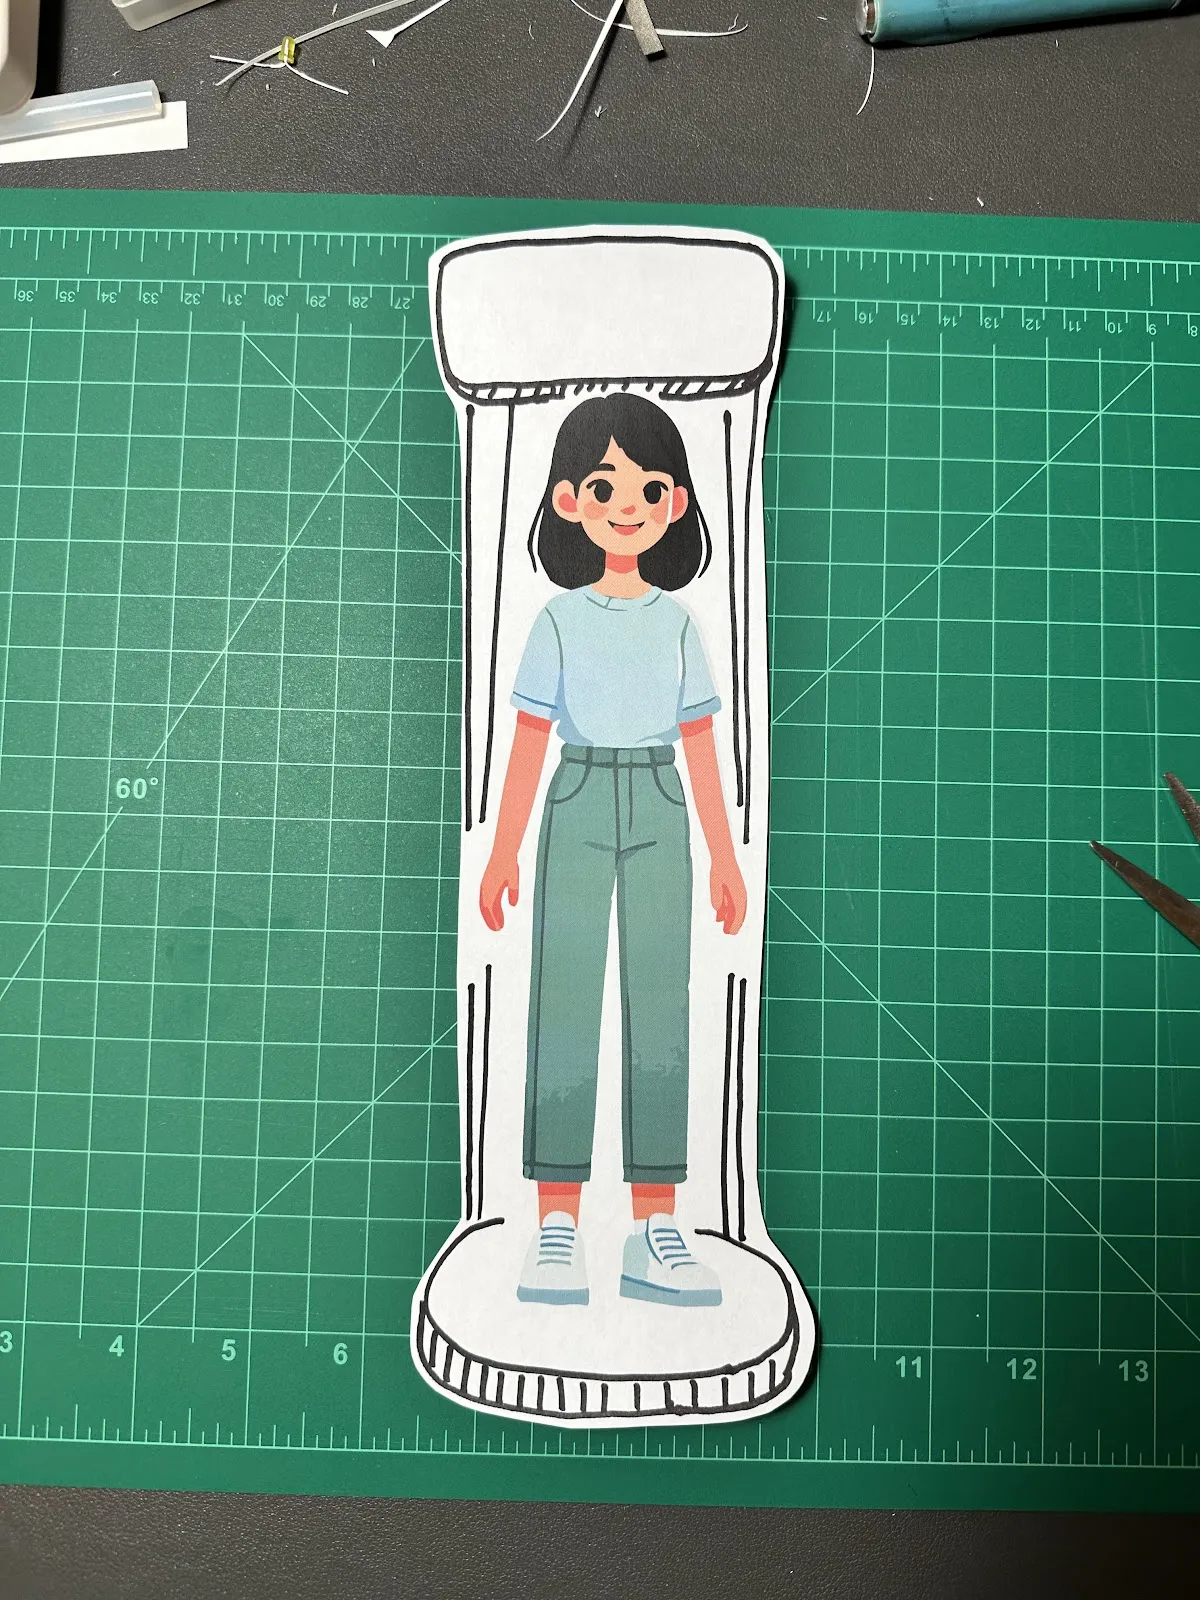
Cut out the printed character.
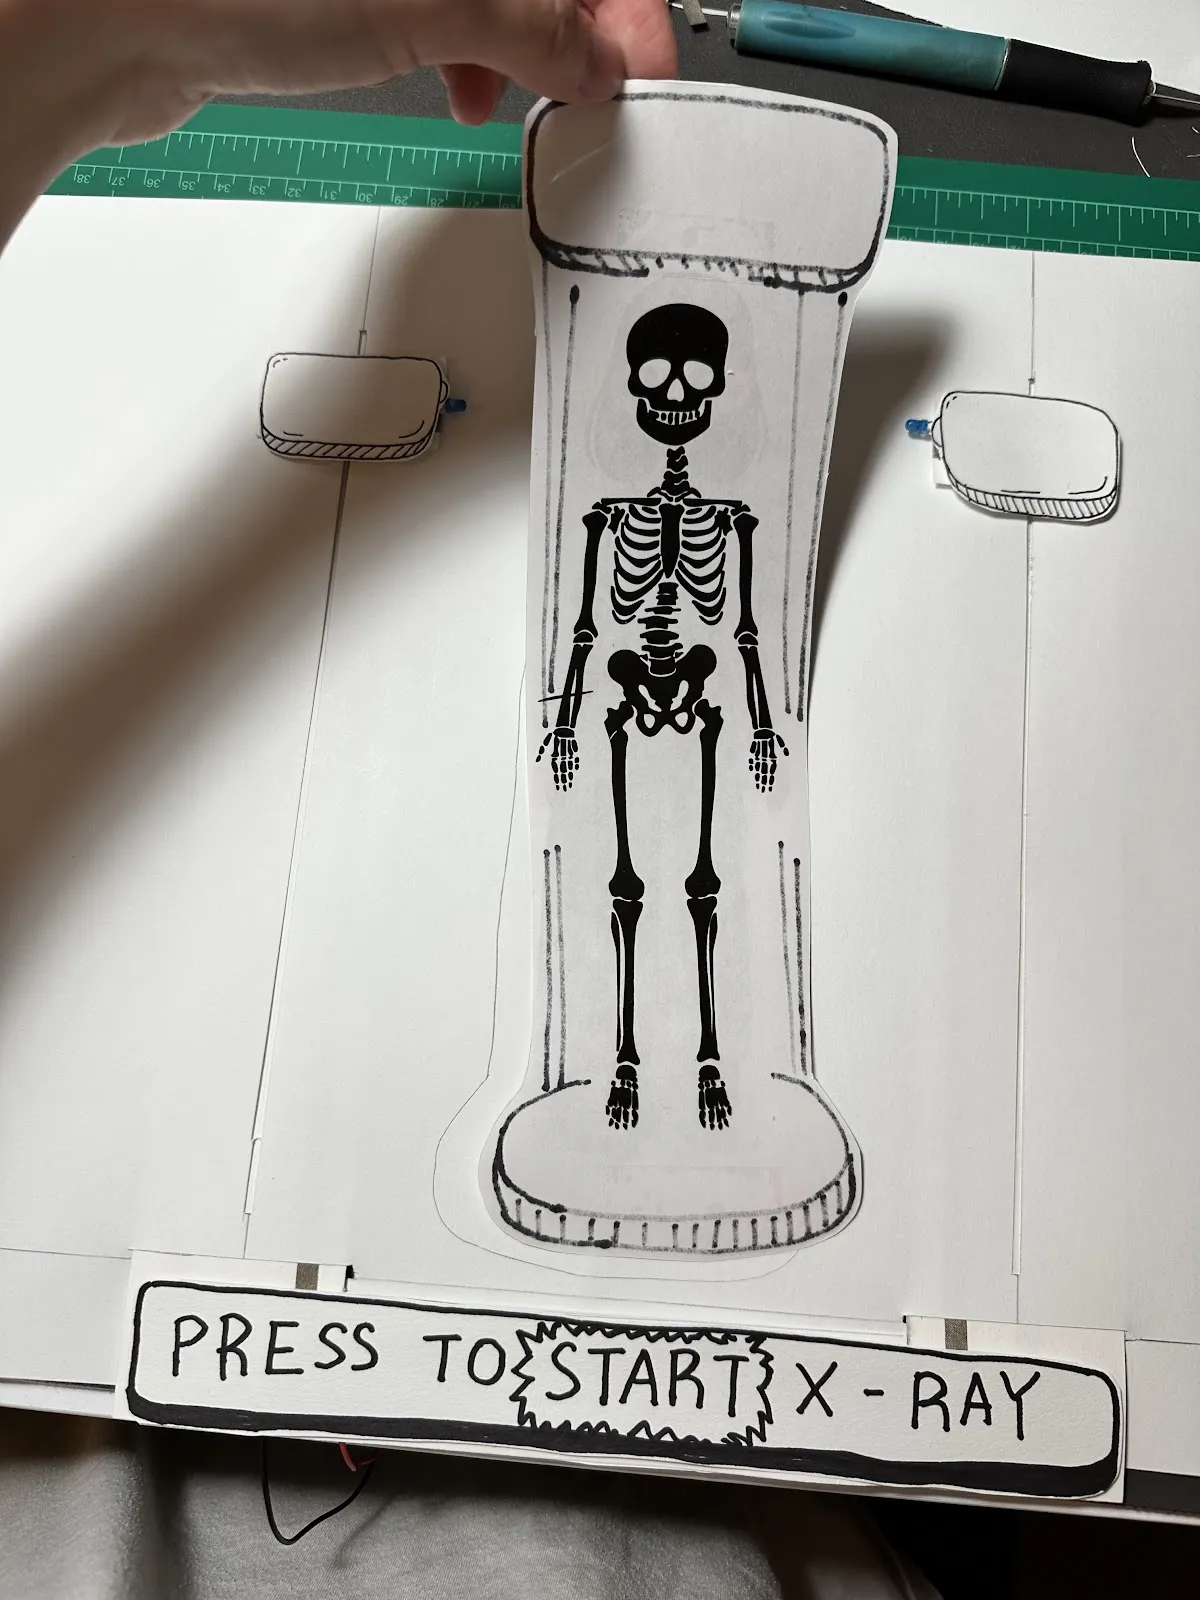
Stick the skeleton cutout behind the character.
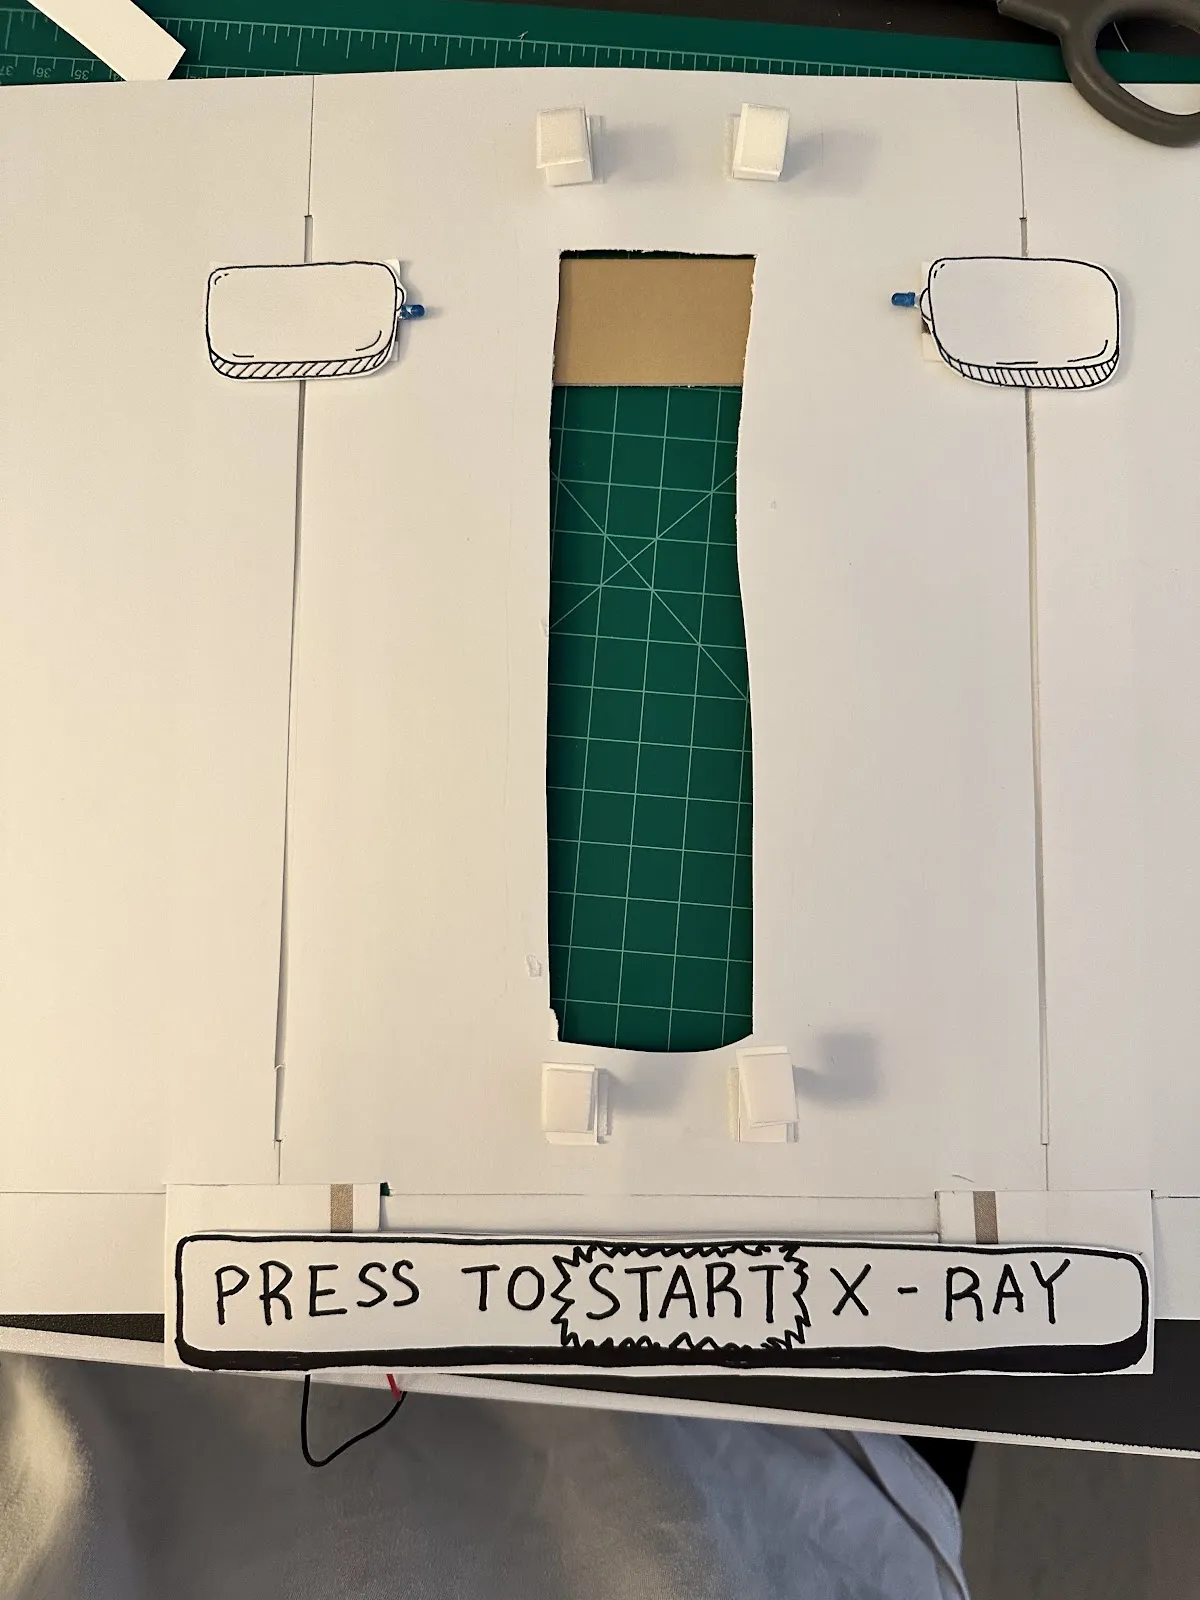
Use folded paper strips to lift the character layer, creating space above the scanner layer.
7. Put Together All Three Layers

Final Product Showcase
Reflection
Creating this x-ray scanner paper circuit was a therapeutic way to channel my recent unlucky experiences into an engaging project. The process of combining art with basic circuitry opened up new ways to express personal stories through interactivity and light. This project demonstrated how simple electronic principles can enhance storytelling, turning static illustrations into dynamic, illuminating experiences.
In an educational context, projects like this can introduce students to foundational concepts of electronics, while allowing them to express their creativity. It encourages problem-solving, design thinking, and the integration of art and technology. Students can reflect on their own stories, struggles, or imaginations and bring them to life with circuits, making learning hands-on and deeply personal.
This project reminded me that even on "unlucky" days, creativity can light the way forward—sometimes, quite literally.